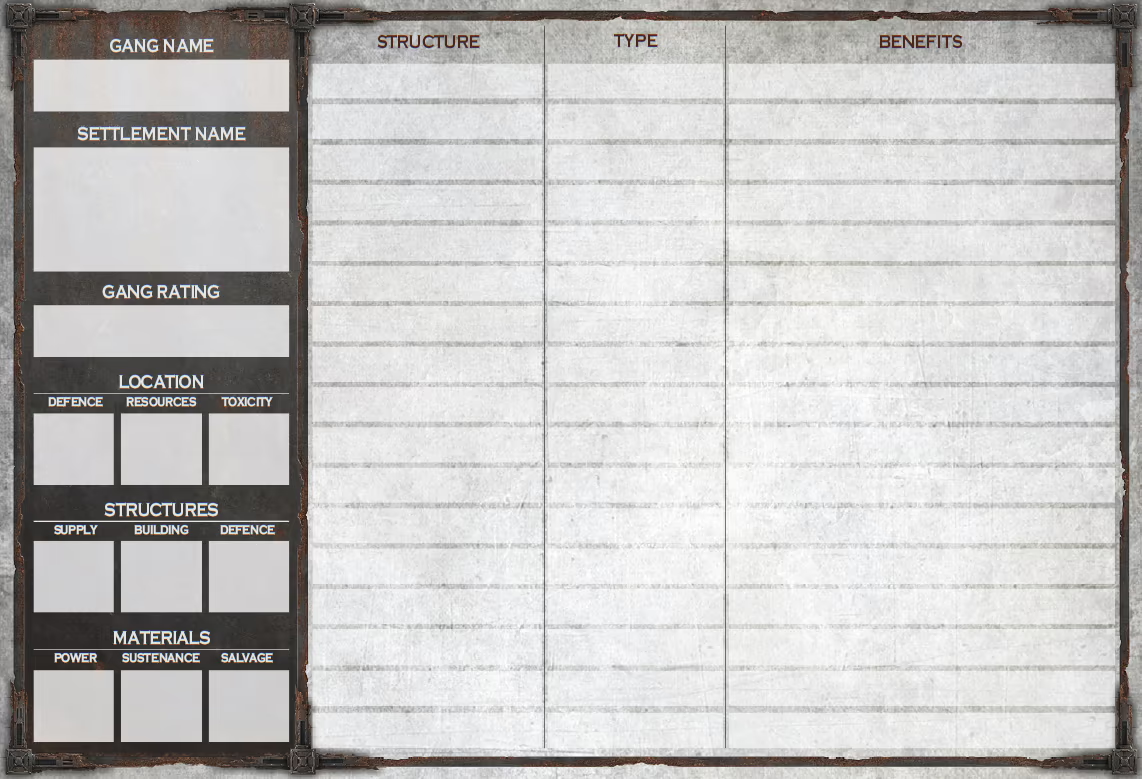
Settlements and Structures
RAW ✔️ Book of the Outcast, p83
At the start of the Outlander Campaign, the gangs have set out into the badzones of the underhive looking to make their mark. They have little more than what they carry with them and must brave the numerous perils of the outlands, not to mention competition from other gangs looking to claim this piece of the hive for themselves. All gangs start with two Structures for their settlement: an Isotopic Fuel Rod and a Water Still. These are both Supply Structures and generate Materials that can be used in the creation of other Structures. The rules for building new Structures can be found in the Expanding Your Settlement section. In addition, where the settlement is sited will also limit the amount of certain Structures (see Settlement Locations).
All Structures have three components:
- Building (Type): This tells you the name of the Structure and what kind of Structure it is (i.e. Supply, Building or Defence).
- Benefits: This details the Benefits a gang gets from a Structure. Any Materials are gained at the start of each Campaign week and Downtime. All other Benefits are always considered active.
- Build Costs/Requirements: This tells you the cost to build the Structure in Materials – which must be paid for the Structure to be added to the gang's Settlement Roster sheet – and any additional conditions that must be met in order to build the Structure; these can either be Structures that must be present in the settlement, or Hanger-ons that must be attached to the gang. If, at any point, a settlement no longer meets the requirements, they must either build or hire the missing requirements or delete the Structure from the roster.
Materials
Materials represent such things as power cells, useful scrap, corpse-starch rations and other vital underhive commodities. Materials can be gained in two ways: either as a reward when playing a scenario, or as a Benefit from a Structure. When a Material is gained, it can be recorded on the gang's Settlement Roster sheet and remains there until spent. There are three kinds of Materials:
- Power: This is any kind of fuel in whatever form the gang can find it, and is important for all kinds of Structures.
- Sustenance: This is food and water as the residents of the underhive understand it, and it is especially important for buildings to feed the people who run them.
- Salvage: This represents any kind of useful building material or working mechanics; it is important for most Structures, but especially Defence Structures.
Supply Structures
| Structure | Benefits | Build Costs/Requirements |
|---|---|---|
| Isotopic Fuel Rod | +10 units of Power | 15 Sustenance |
| Water Still | +10 units of Sustenance | 15 Power |
| Critter Farm | +15 units of Sustenance | 5 Sustenance, Critters (Defence) |
| Fungi Farm | +20 units of Sustenance | 20 Power, 10 Salvage |
| Gunk Tank | +5 units of Power and Sustenance | 5 Power, 5 Sustenance, 5 Salvage |
| Scrap Market | +10 units of any Material | 5 Power, 5 Sustenance, 5 Salvage, Scrap Mine (Supply) |
| Scrap Mine | +10 units of Salvage | 10 Power, 5 Sustenance |
| Scrap Reprocessing Plant | +20 units of Salvage | 10 Power, 20 Sustenance, Habs (Building) |
Building Structures
| Structure | Benefits | Build Costs/Requirements |
|---|---|---|
| Black Market | Reduce the Legality of all items in the Black Market by 2 | 5 Power, 10 Salvage, Scrap Market (Supply) |
| Bullet Hall | Add a Hired Gun to their gang free of charge | 15 Sustenance, 10 Salvage, Drinking Hole (Building) |
| Corpse Yard | Increase the settlement's Supply Structure limit by 1 | 5 Power, 10 Sustenance, 10 Salvage |
| Doc Clinic | In the post-game sequence remove up to three fighters from Recovery | 20 Power, 10 Sustenance, 10 Salvage, Rogue Doc |
| Drinking Hole | Reduce the cost of Hired Guns and Hangers-on by 50% (rounding up) | 10 Power, 20 Sustenance, 20 Salvage, Habs (Building) |
| Gaol | +3 to the dice roll to Capture enemy fighters | 5 Power, 5 Salvage |
| Habs | Increase the settlement's Building Structure limit by 1 | 10 Power, 20 Sustenance, 10 Salvage |
| Underhive Shrine | Always count as having the Home Turf Advantage | 10 Power, 5 Sustenance, 5 Salvage |
| Vault | Settlement cannot be the subject of a Settlement Raid | 10 Power, 10 Salvage, Walls and Gates (Defence) |
| Workshop | Reduce the cost of Defence Structures by 50% (rounding up) | 20 Power, 10 Sustenance, 10 Salvage, Ammo-jack |
Defence Structures
| Structure | Benefits | Build Costs/Requirements |
|---|---|---|
| Chasm | 6" wide, 12" long, area of impassable terrain placed by defender | 30 Salvage |
| Critters | Attacker subject to the Horrors in the Dark special rule | 30 Sustenance, 10 Salvage, Fungi Farm (Supply) |
| Minefields | Defender may place up to three booby traps anywhere at least 6" outside their opponent's deployment area | 10 Power, 10 Salvage |
| Outpost | Add 2 or subtract 2 from the dice roll when rolling to determine scenario | 5 Power, 10 Salvage |
| Walls and Gates | Defender may place walls around their deployment area | 50 Salvage |
| Watchtower | Defender may place a Watchtower in their deployment area | 20 Salvage |